The Good Photo Guide
In order to create a true rendition of your pet I need at least one top notch photo to draw from.
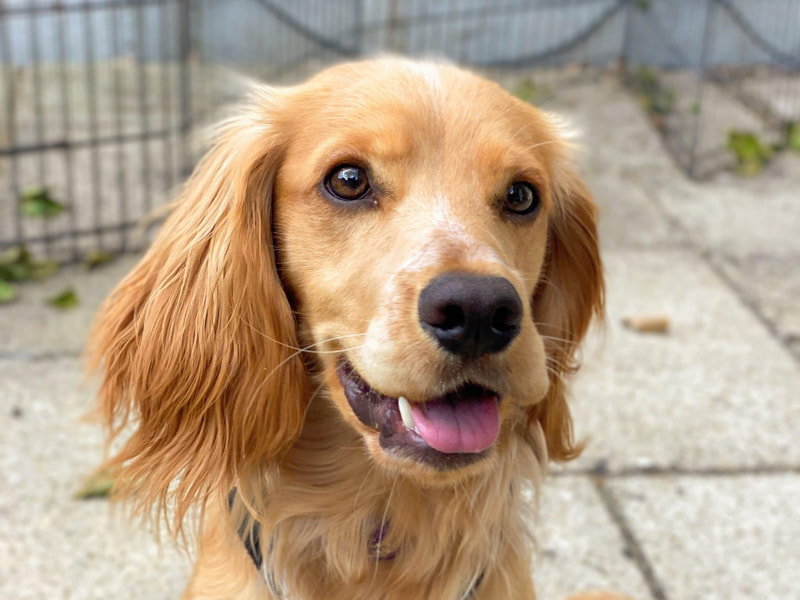
There are several key ingredients that make a top notch photo: focus, lighting and taking the photo at the same level as your pet's face so you are able to properly capture their eyes, expression and colours, markings and textures, which together express their true personality. And capturing personality is the key to a great pet portrait!
There are several key ingredients that make a top notch photo: focus, lighting and taking the photo at the same level as your pet's face so you are able to properly capture their eyes, expression and colours, markings and textures, which together express their true personality. And capturing personality is the key to a great pet portrait!
Focus
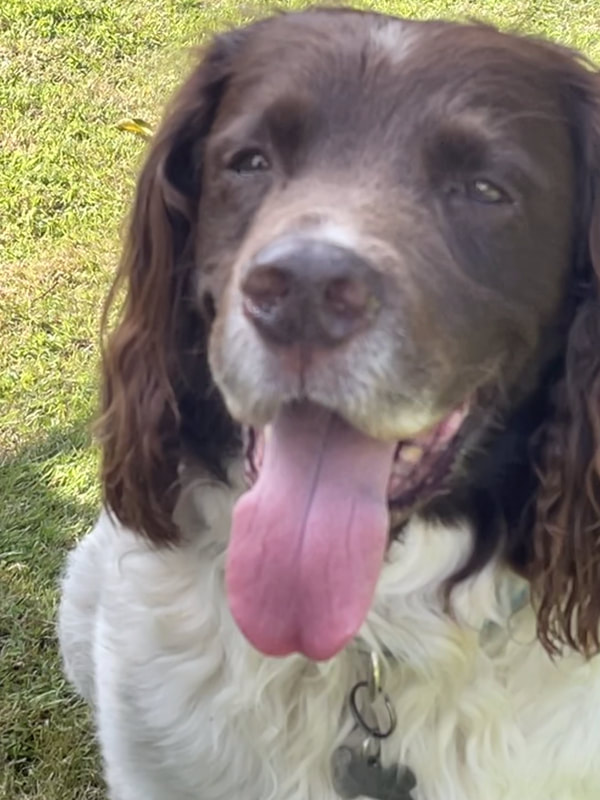
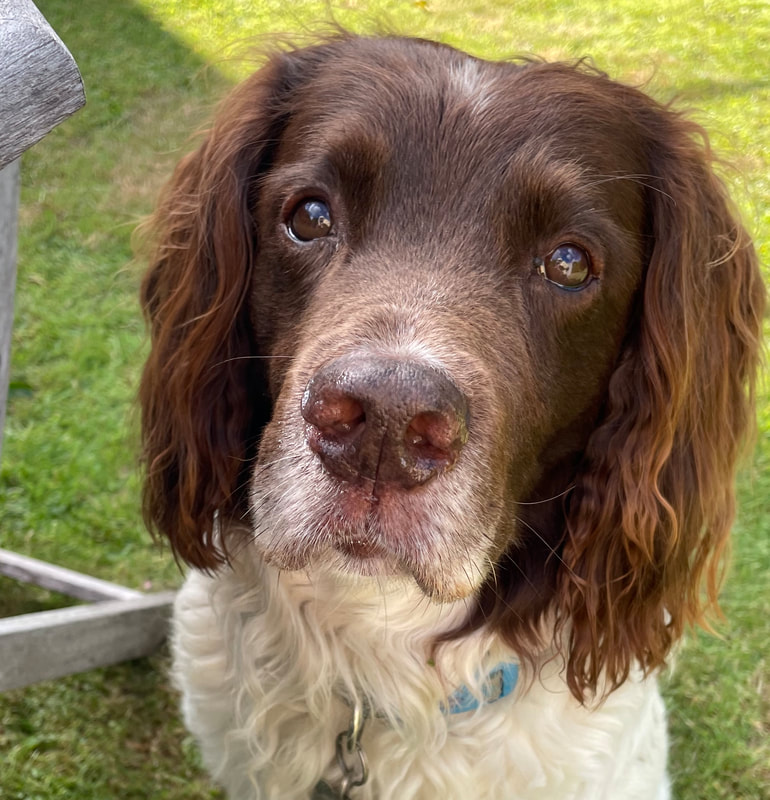
It doesn't matter what camera you use, for example, modern phone cameras can produce fantastic results and are easy to use. The main things to remember are to keep the camera steady and in focus. I do advise getting as close to your pet as possible so as to capture as much detail of markings and the direction of their fur as possible, but by getting too close the focus will become blurry which will make the texture and shadows indiscernible and I won't be able to properly capture your pet's character. Here are two examples of photos I took of lovely Max the spaniel. With the first I got too close and as a result his features are blurry. With the second , the conditions were exactly right; a good amount of sunlight to illuminate his face plus the camera was near enough to caputure the tiniest hairs, the texture and tones of his fur plus the sparkling light in his eyes.
The Right Lighting
The right lighting is key and I would recommend choosing pictures that have been taken outside, in natural light but not in brilliant sunshine as this will cause your pet to squint (and would be very uncomfortable for him too!) Also, don't be tempted to use filters as these may cause blurriness. Overcast days are preferable or avoid midday when the sun is at its strongest. Never take a photo with the sun behind the pet, even on overcast days, as this will cause your pet to be shrouded in shadows. The best is having the light behind you when you take the photo so that it illuminates your pet's features and lights up the eyes. I always think the best pet portraits are those that really capture the eyes. They are the windows to the soul after all!
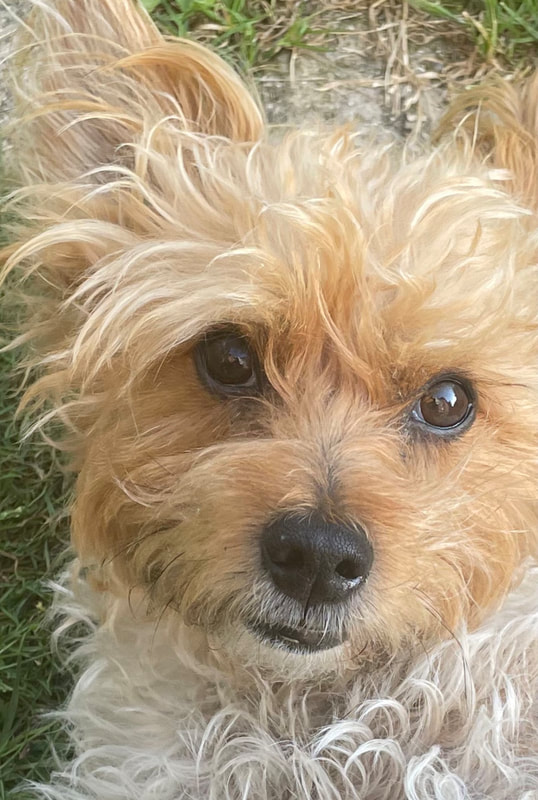
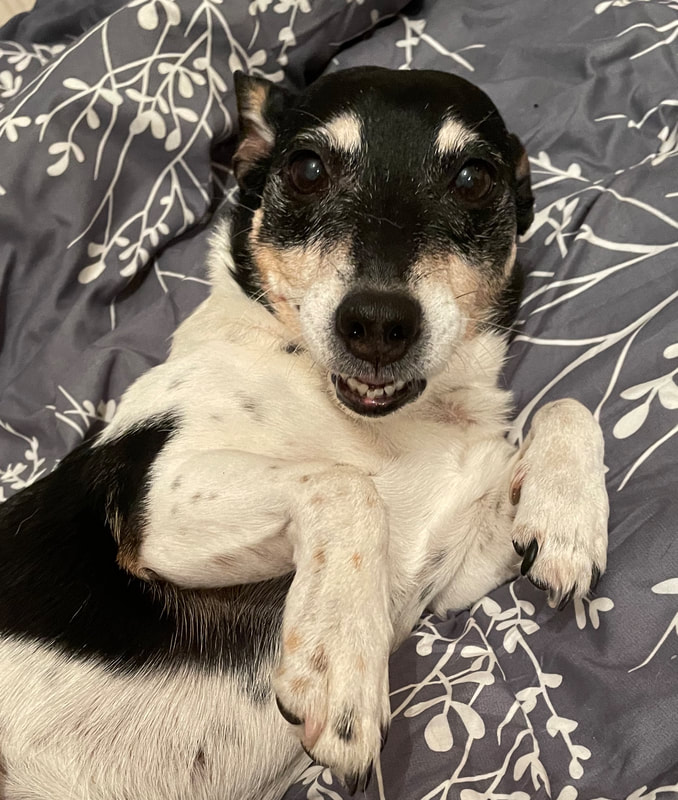
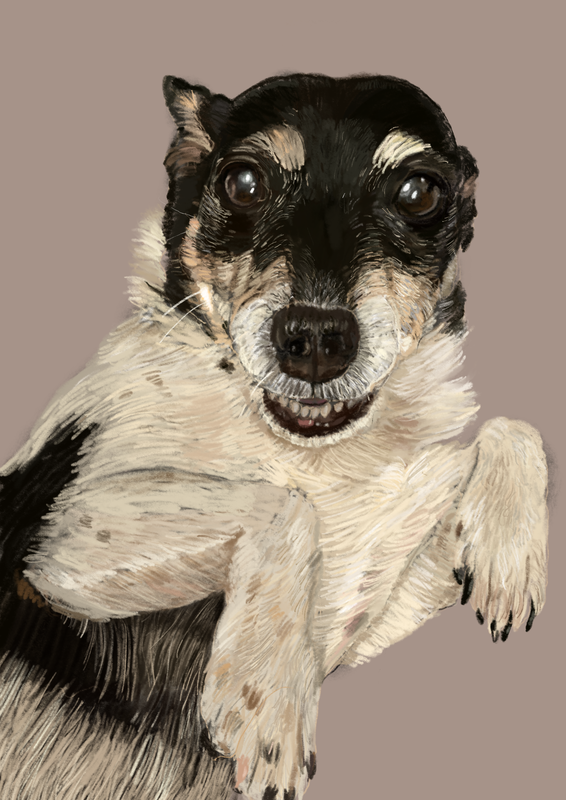
Indoor photos can be successful providing the artificial lighting is not too bright or too dim. This is shown by my photo of Susie, who was illuminated by an overhead lightbulb. This made all her markings clearly visible and captured the light in her cheeky eyes!
But never be tempted to use the flash as this will probably startle your pet and it will have red eyes in the photo too. If it's too dark then it's best to move to a lighter room or go outside if possible.
Don’t Keep Your Distance
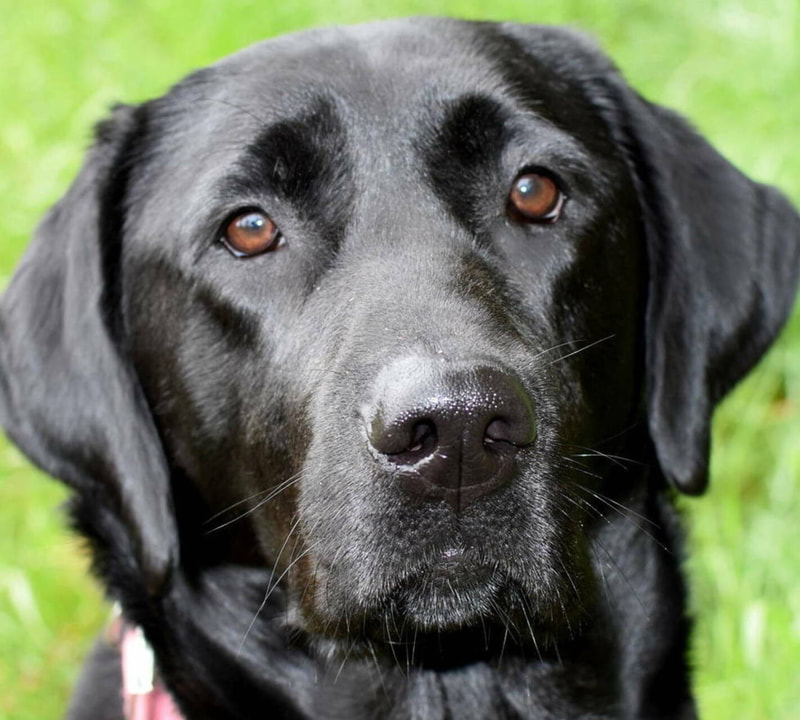
As mentioned before, a head and shoulders shot, taken as close to the pet as possible, is the best type for me to draw from. You may have photos taken from a distance, but enlarging them will result in the image being pixelated and your pet's features will be blurred. In the first photograph the lighting is poor and has been taken too far away, so the dog's fur and eyes are not distinct enough for me to draw. Compare this with the second picture which has been taken in good light, showing the texture of the labrador's fur, all its shadows and highlights and the way the black is illuminated to reveal hues of blue and silver.
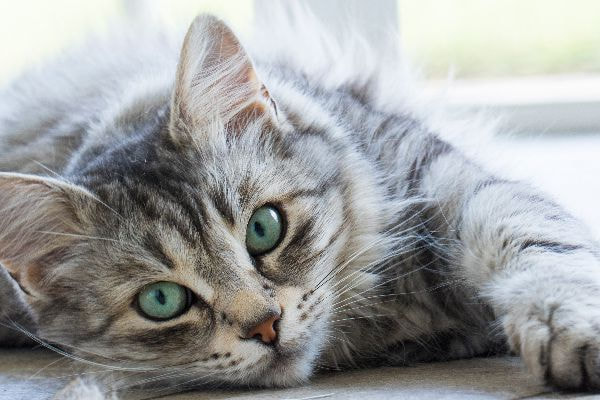
Light streaming through a window can be very flattering on a subject, as seen with the photo of the cat. But again never photograph your pet in front of a window with the light behind it as this will obscure all its features with deep shadows.
I hope you have found this guide helpful, however, if you have any problems with taking the photos, or are worried about the ones you have, please email them to me at biscuitandsusie@gmail.com and I will be happy to help and advise.
